
postman tips and tricks
I’ve been using postman for awhile now, and I found some amazing features during the last project I worked on. I think they are worthy enough to share, so here we go!
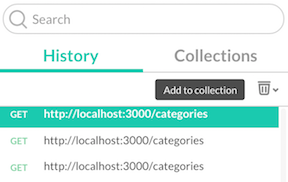
##Collections Postman starts you out in the History tab. The tab keeps a running log of every request you send which is great for testing your application (you can go back and select previously run request). However, it also offers up the ability to create Collections of requests.
To add a request to a collection, highlight the request(s) in the History tab and click the “Add to Collection” button
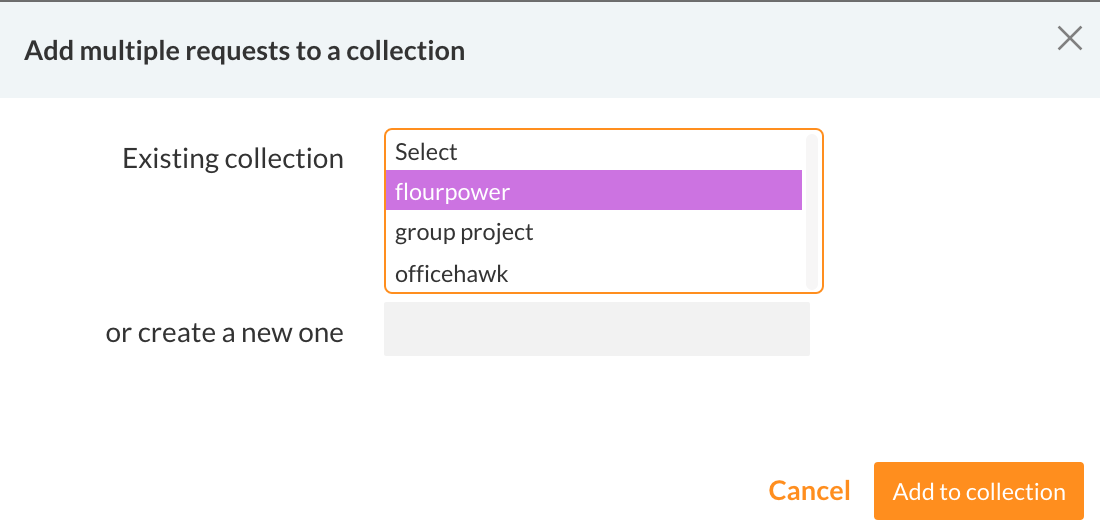
You have the choice of adding to an existing collection or creating a new one.
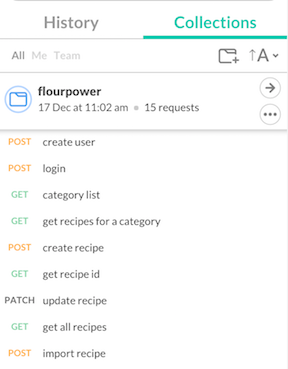
Once you have created a collection, you can easily access the requests by going to the Collections tab.
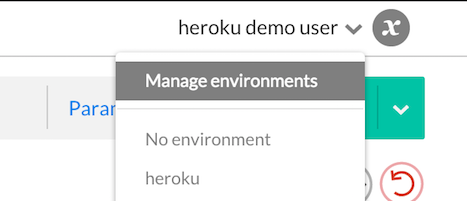
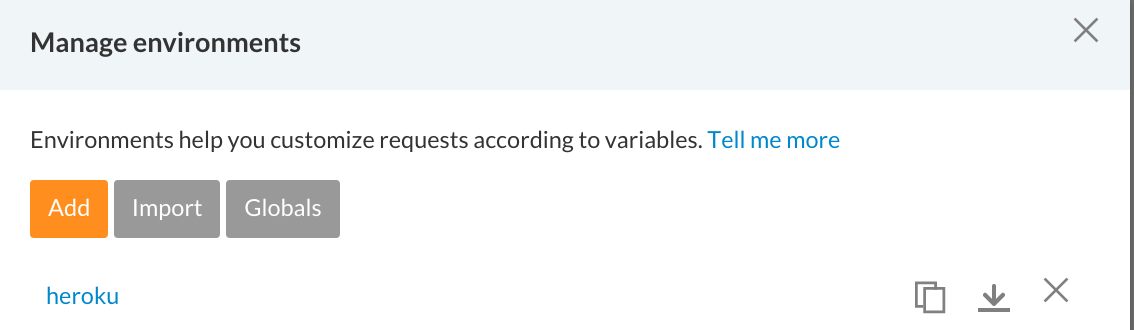
##Environments During my last project, I routinely had to move from testing against localhost and heroku. This meant having duplicates of each request and I figured there had to be a better way. Postman provides the “Environments” feature to help with this exact problem. To add an environment, click the drop down in the upper right corner that most likely say ‘No Environment’ and select Manage Environments.
From this screen you can add a new environment or click on an existing one to manage the variables you have set.
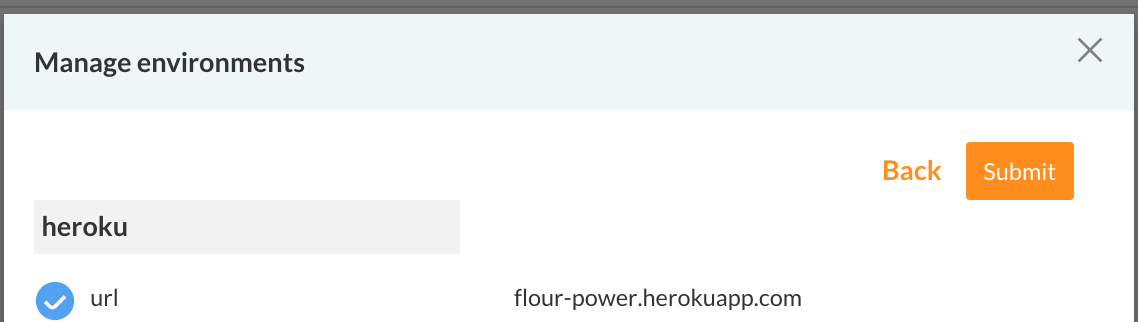
Add a new name for your environment and start adding variables with key/value pairs (just like you would in a POST request). Some of the more helpful variables I have found are:
- URL (including port)
- username
- password
- API token
Once you have your variables set, you must replace the values in each request with the variable names. Postman uses `` to denote variables.
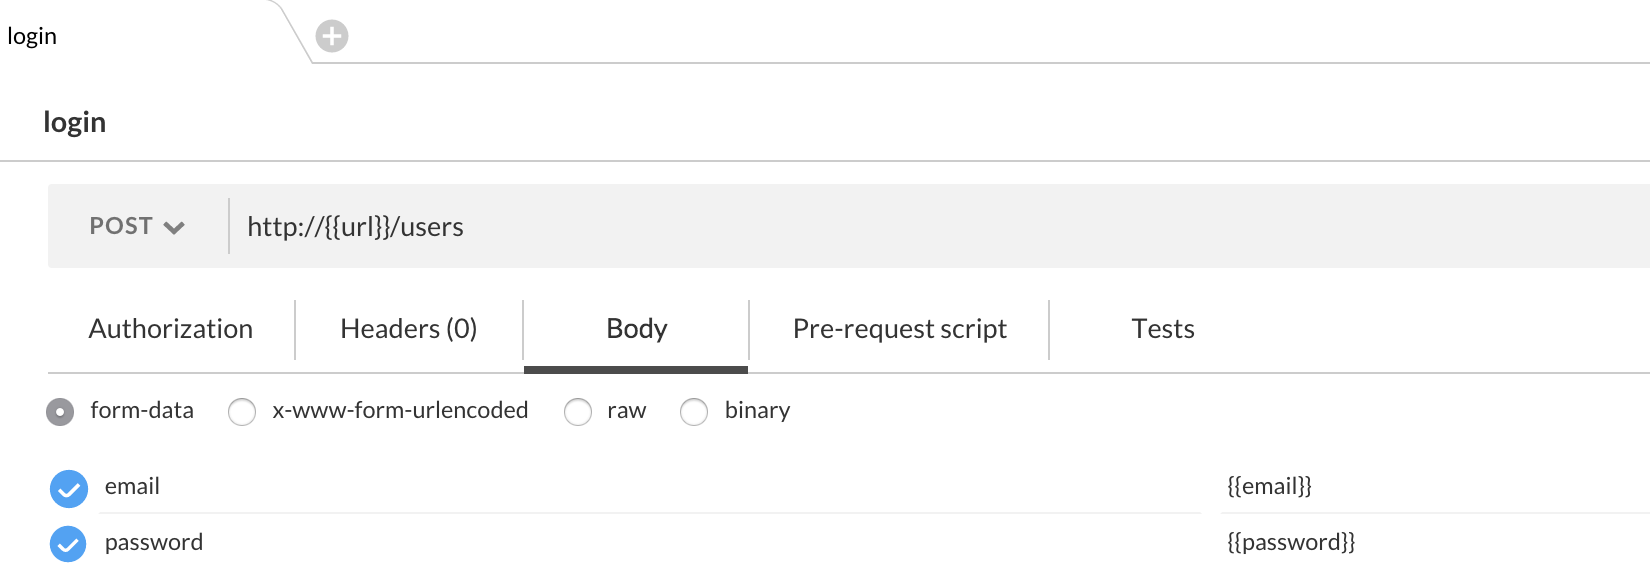
The true beauty of this setup means you can easily switch from one environment to another (for example, heroku to localhost) and run the same request with little work on your end! Time saver FTW :)
The last neat trick I learned was how to send in arrays and arrays of hashes. This was imperative as I did not want to release API code to my front end teammates without testing it first! Below is the format required by my API:
[snippit from my awesome API docs]
Example Request
{
  	"name": "Cheesy Eggs",
  	"category_names": [ "Desserts", "Entrees" ],
	"steps": [ "Turn on oven to 350",
      		"Mix eggs, bacon, and cheese together in a large bowl",
      		"Pour into a cast iron pan",
      		"Bake in oven for 15-20 minutes" ],
 	"ingredients":
  		[
  			{
  				"name": "carrots",
  				"amount": "2",
  				"unit": ""
  			},
  			{
  				"name": "flour",
  				"amount": "2.5",
  				"unit": "cups"
  			}
  		],
  		"my_image": "path to your local image of the recipe"
  }
To get the data looking like this, I had to use brackets in the key name for the postman variables.
For an array of strings with the key name ‘steps,’ use the following key value pair naming convention:
- steps[] - value1
- steps[] - value2
- steps[] - value3
This will produce and inputs of: "steps": ["value1","value2","value3"]
Note: the key/value paris have to be one right after the other in Postman for it to be considered part of the SAME array
To get an array of hashes, use the same method as above but add the hash key names in like this:
- steps[one] - value1
- steps[two] - value2
- steps[three] - value3
- steps[one] - value4
- steps[two] - value5
- steps[three] - value6
This will produce and inputs of:
"steps": [
{"one": "value1","two": "value2", "three": "value3"},
{"one": "value4","two": "value5", "three": "value6"} ]
Below is a real example of a setup I used when testing the FlourPower Application I worked on:
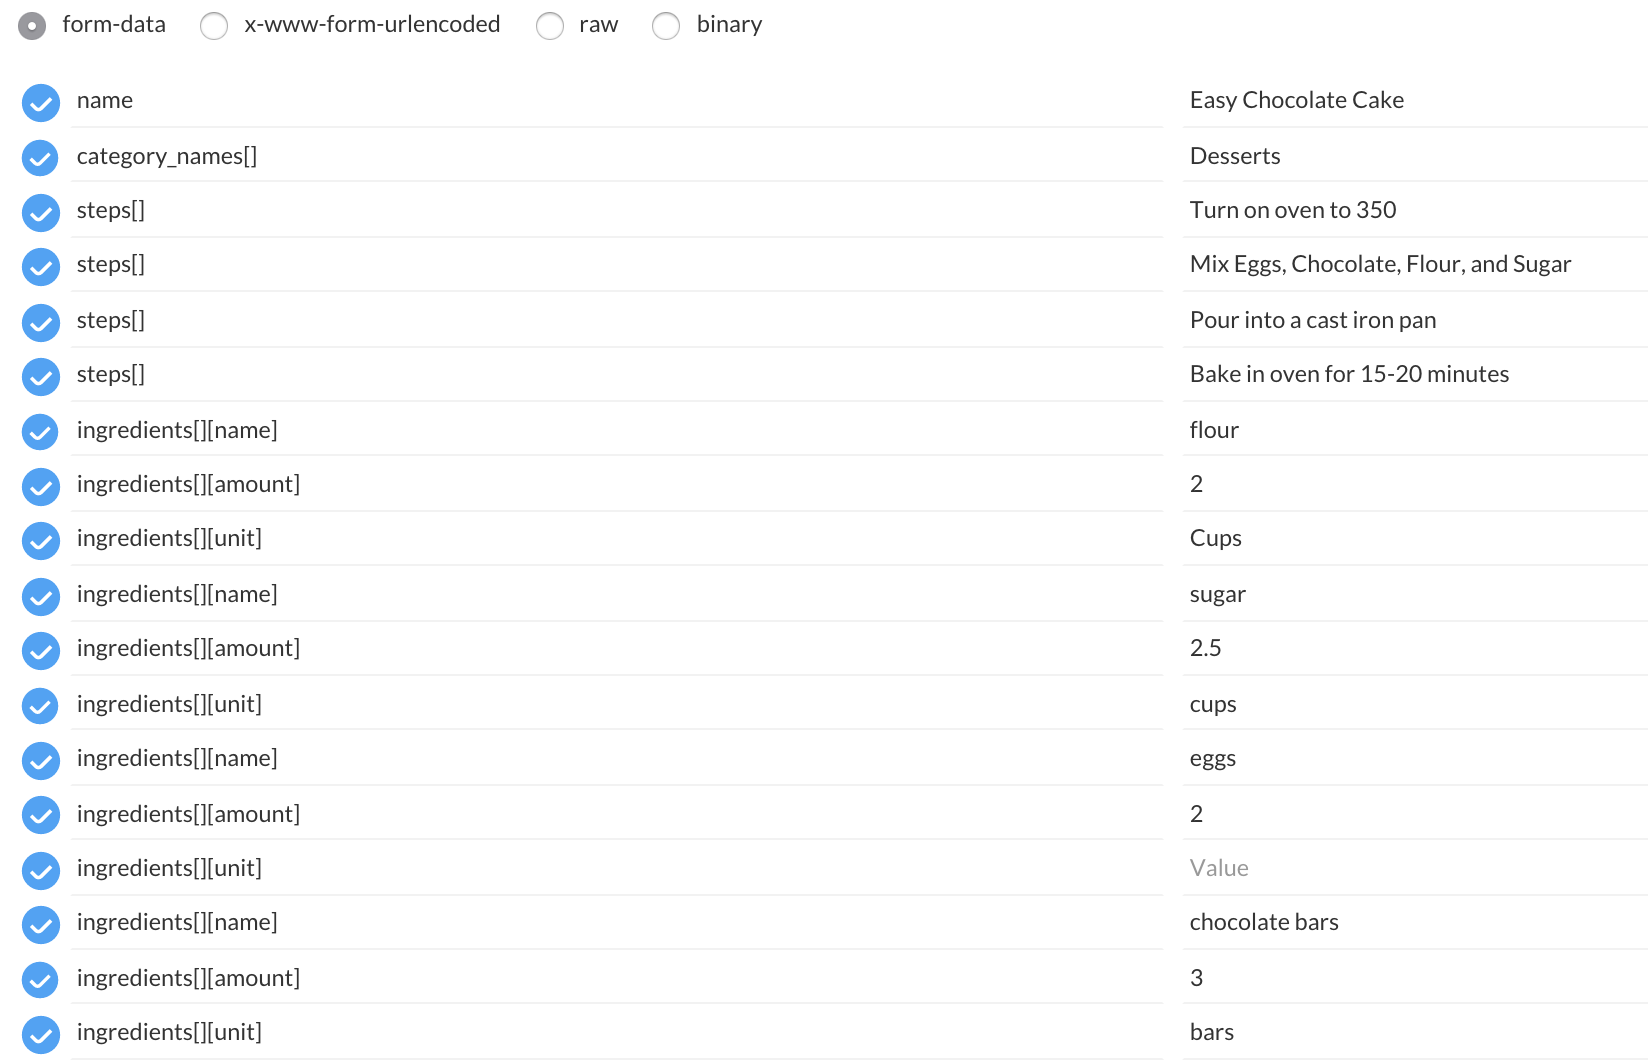
The data below was taken directly from running a request against my localhost with a binding.pry in place and asking Rails what the params variable contained:
{ 	"name"=>"Easy Chocolate Cake",
 	"category_names"=>["Desserts"],
 	"steps"=>
  	[ 	"Turn on oven to 350",
   		"Mix Eggs, Chocolate, Flour, and Sugar",
   		"Pour into a cast iron pan",
   		"Bake in oven for 15-20 minutes"	],
	"ingredients"=>
  	[	{"name"=>"flour", "amount"=>"2", "unit"=>"Cups"},
   		{"name"=>"sugar", "amount"=>"2.5", "unit"=>"cups"},
   		{"name"=>"eggs", "amount"=>"2", "unit"=>""},
   		{"name"=>"chocolate bars", "amount"=>"3", "unit"=>"bars"}  ],
 	"controller"=>"recipes",
 	"action"=>"create"	}
Hopefully you found these tips helpful as I know I showed them to just about anyone that would listen to me!